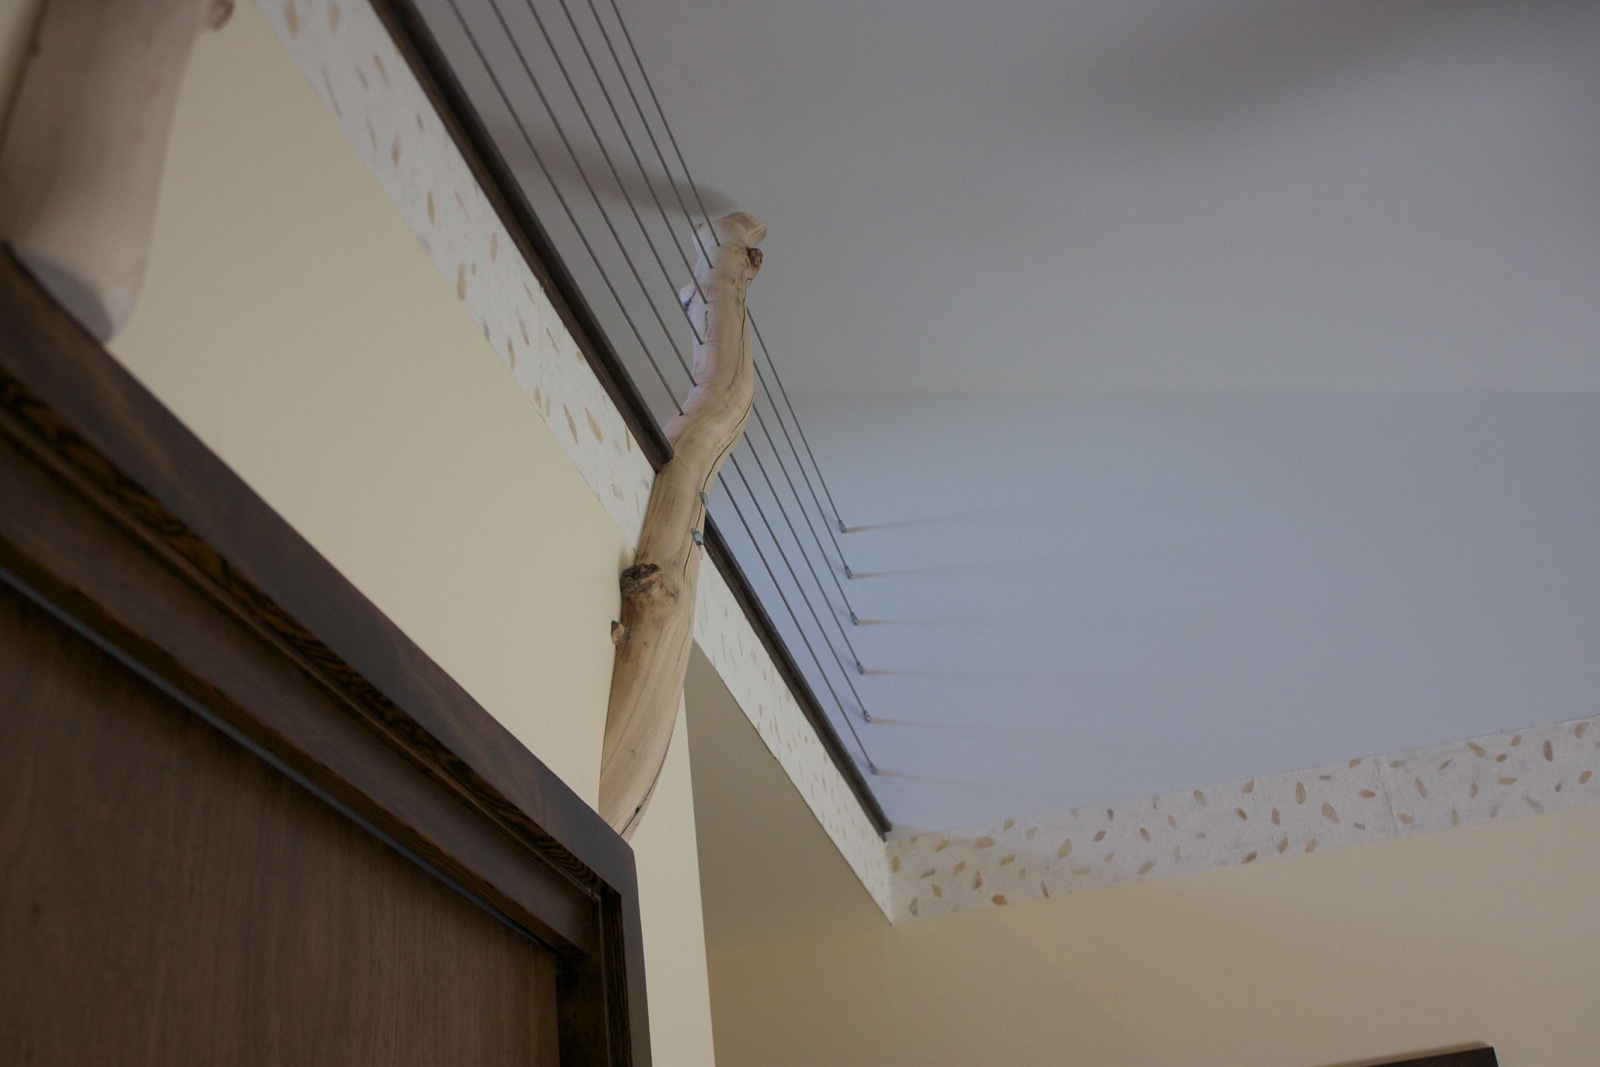
Loft Railings: Cable railings through aspen logs anchored straight into drywall.
My children’s lofts were never finished when we built our house. Six years later, we’ve finally started making them usable. Having already made a hatch through the ceiling of the closet for access, and having carpeted the floors, we were now able to put in a wall-to-wall railing to prevent them from falling over the edge.
We wanted my daughter’s loft to feel a little like a tree house, so we decided that we wanted rough, natural posts and unobtrusive cable railing.
Preparing the Aspen Posts
 We bought some eight-foot aspen logs from a local lumber shop (only $6.50 each!). We peeled off the bark, sometimes with fingers, mostly with chisels. After they had dried off, we used 60-grit sandpaper with an orbital sander to shave off the worst of the discoloration and soften some of the worm-eaten valleys wandering around the surface. (In the picture at right—click for larger—you can see the contrast on the left log where it was only partially sanded.)
I was surprised at how incredibly soft the aspen wood was. The danger with the orbital sander, I found, was that it really was more like a carving tool. It was very easy to accidentally smooth out interesting features of the wood, homogenizing it to a simple, round post. I ended up using mostly one edge of the sanding plane in an attempt to stop flattening out everything in sight.
I then skipped to 100 grit with a foam sanding block and hand rubbed them. Mostly this was to remove any circular swirly evidence of the orbital sander’s work, but I also needed to give a little nominal loving to the nooks and crannies around the branches and knots. The wood is so soft I decided there was no need to use any finer grit beyond this point. (How soft? Just rolling the logs sitting on top of the plastic saw horses would leave dented lines in the wood. I had to use rags to cushion them as they rested in place!)
Anchoring the Posts
 Even though the wood posts are mostly for show—the cable railing is strong enough to hold across the 11’ span on its own—we didn’t want them to be wobbly. To anchor them to the edge we decided to cut off half the branch, letting it trail down the wall, and then use lag bolts to tie them to the wall.
Cutting off a flat half of each log was challenging. After trying various saws (the circular saw, the tree saw, even the hacksaw) I got tired of messing around and pulled out the chainsaw. It was hard to secure the logs for cutting. I used some simple wood clamps, with flat pieces of wood distributing the pressure over the surface of the log, so that I wouldn’t dent them too much. Even with the clamps cranked down, however, the vibrations from the chainsaw (which was like cutting through butter) would occasionally shake the log free and I’d have to re-anchor again.
 After roughing the opening with the chainsaw, I went back to the 60-grit orbital sander and smoothed out the rough spots. Again, the wood was so soft I was able to take off up to ¼” in spots as needed with relative ease. I carried the logs in and out of the house at least five times each, putting them in place, noticing where I needed to take off more wood or change the angle, and then back to the garage for the sawdust storm.
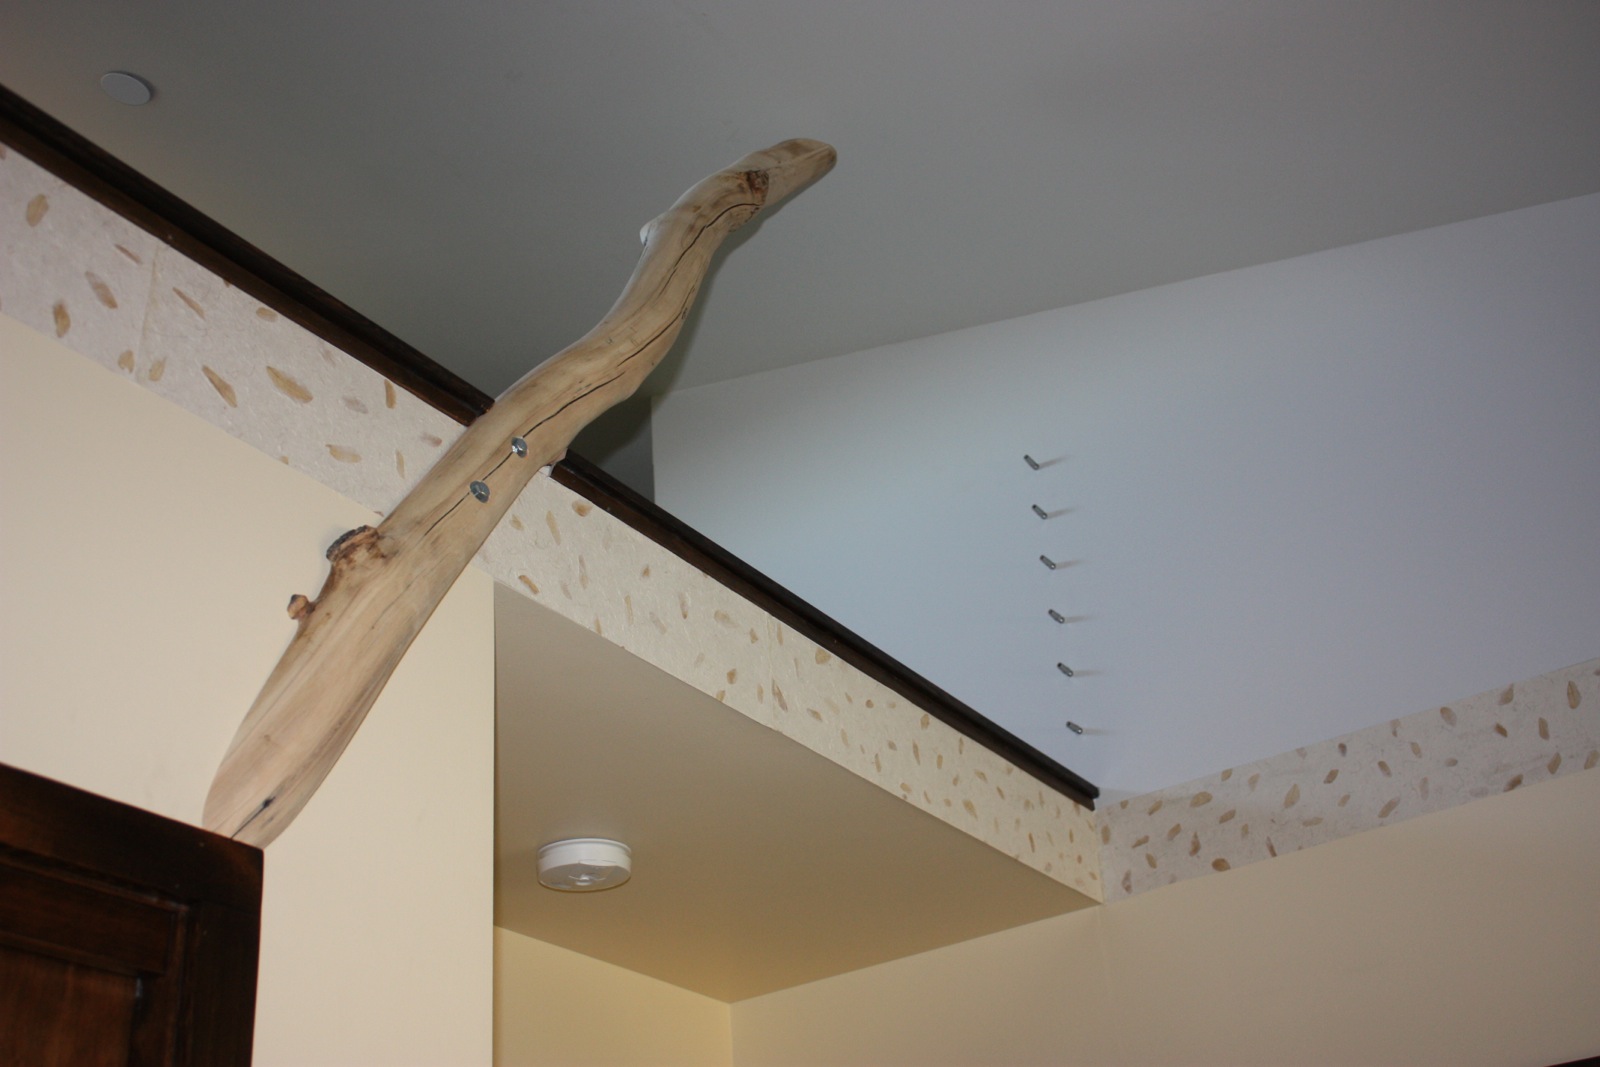
As each post got to be the right size I carved out an opening in the trim. I first used a jigsaw, then fine tuned it with a hand chisel. (If you look closely in the large version of the picture at left, you can see that I did a terrible job with the opening for the first post, on the right.)
With my wife’s explanation of where there was sure to be solid wood behind the drywall to anchor into (marrying an architect has so many benefits!) I marked the spot for the bolts, used a 1” SpeedBor bit to flatten the area for the washer, pre-drilled the hole in the post and then used that to drill the holes into the wall. Nicely, both posts fit so snugly in their openings I was able to prop the post in place and leave it hanging there while I added the bolts.
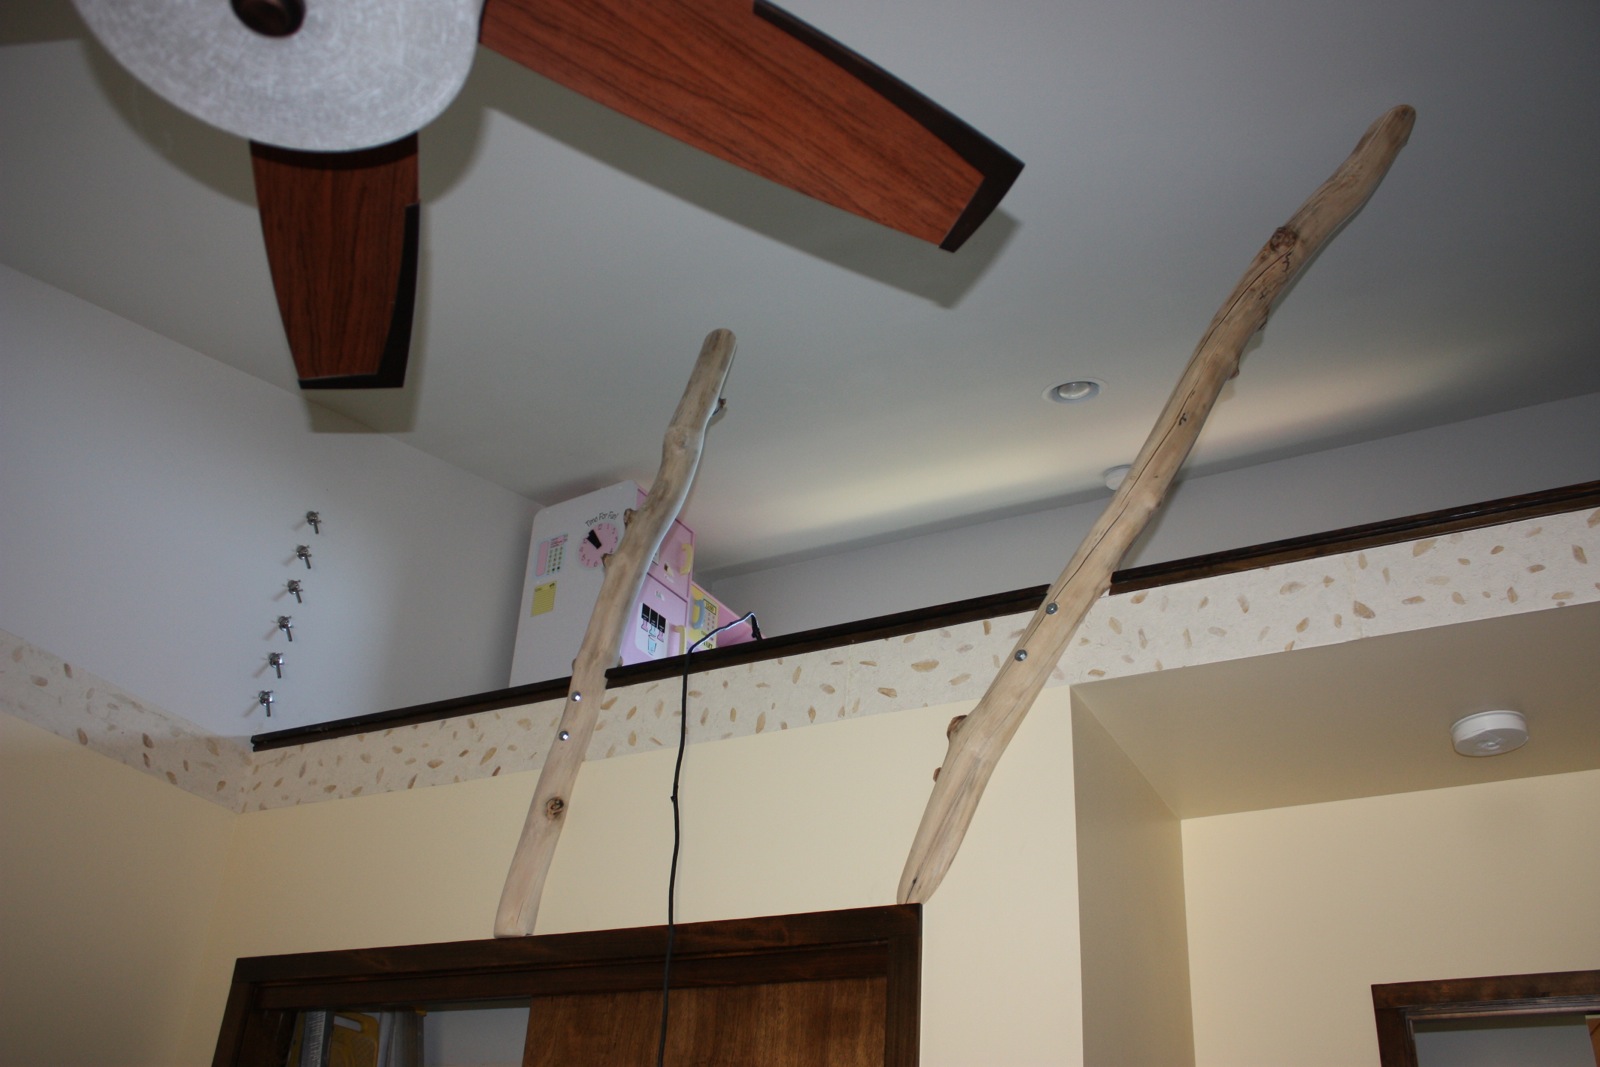
The result are posts that are super solid, unable to be moved in any direction.
Attaching the Cable Rail
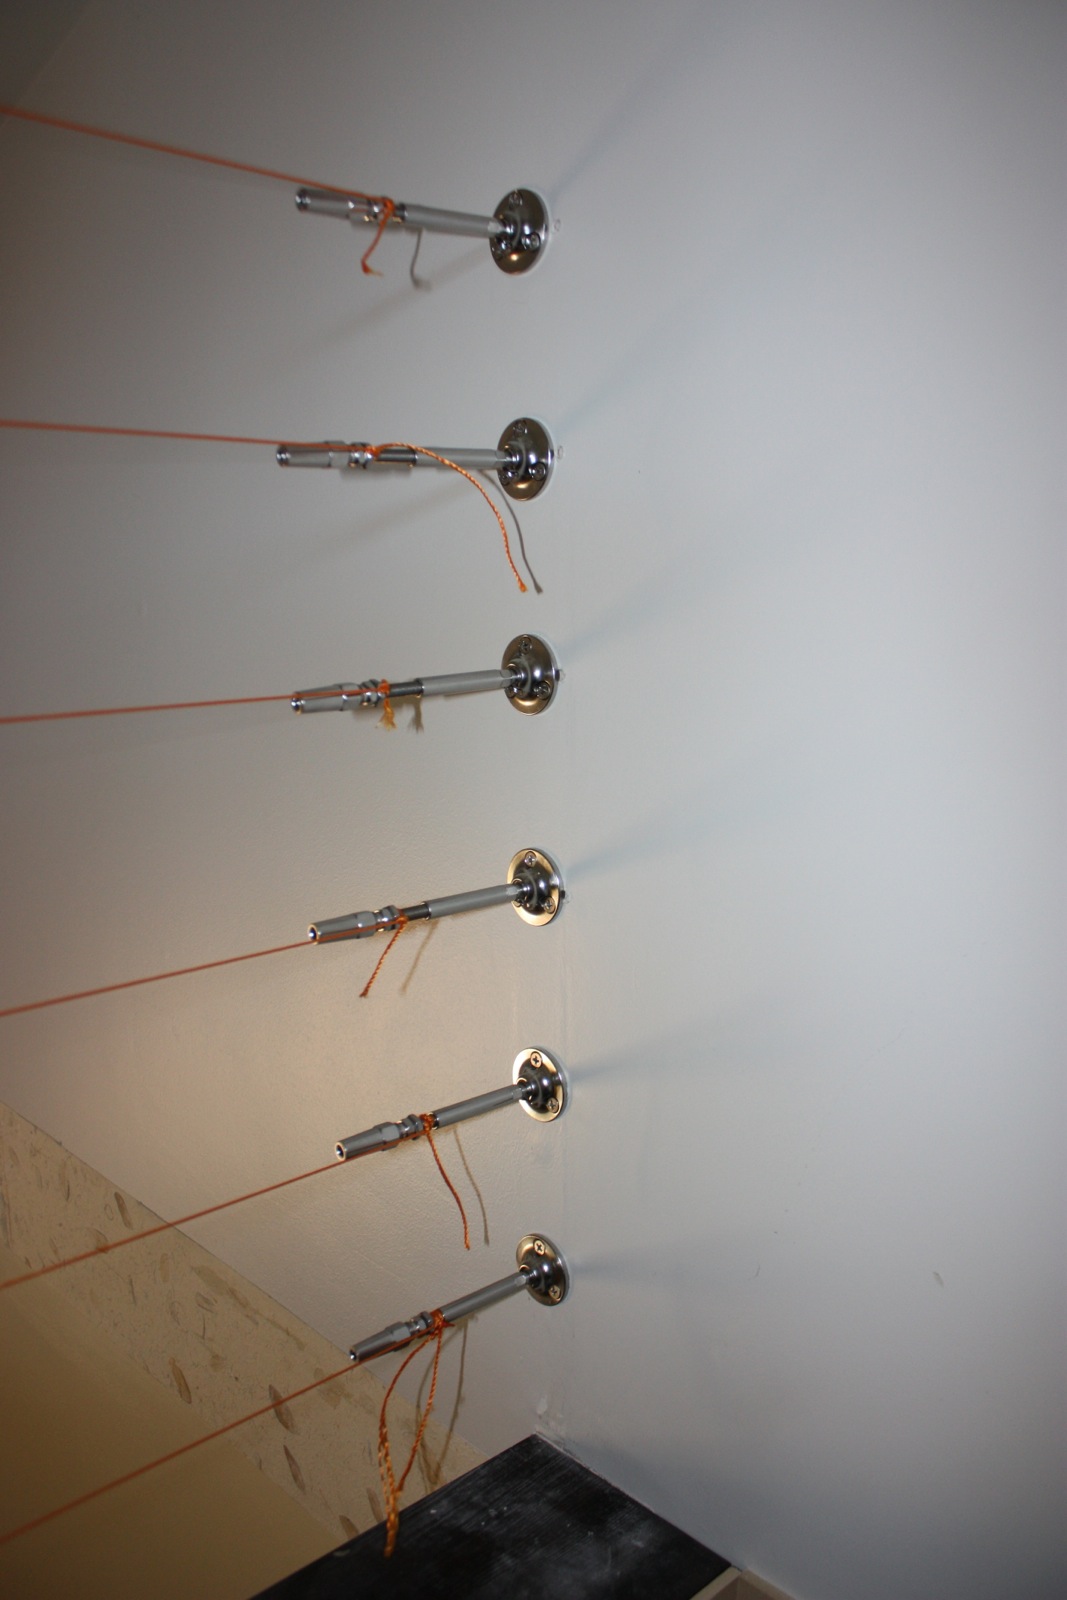
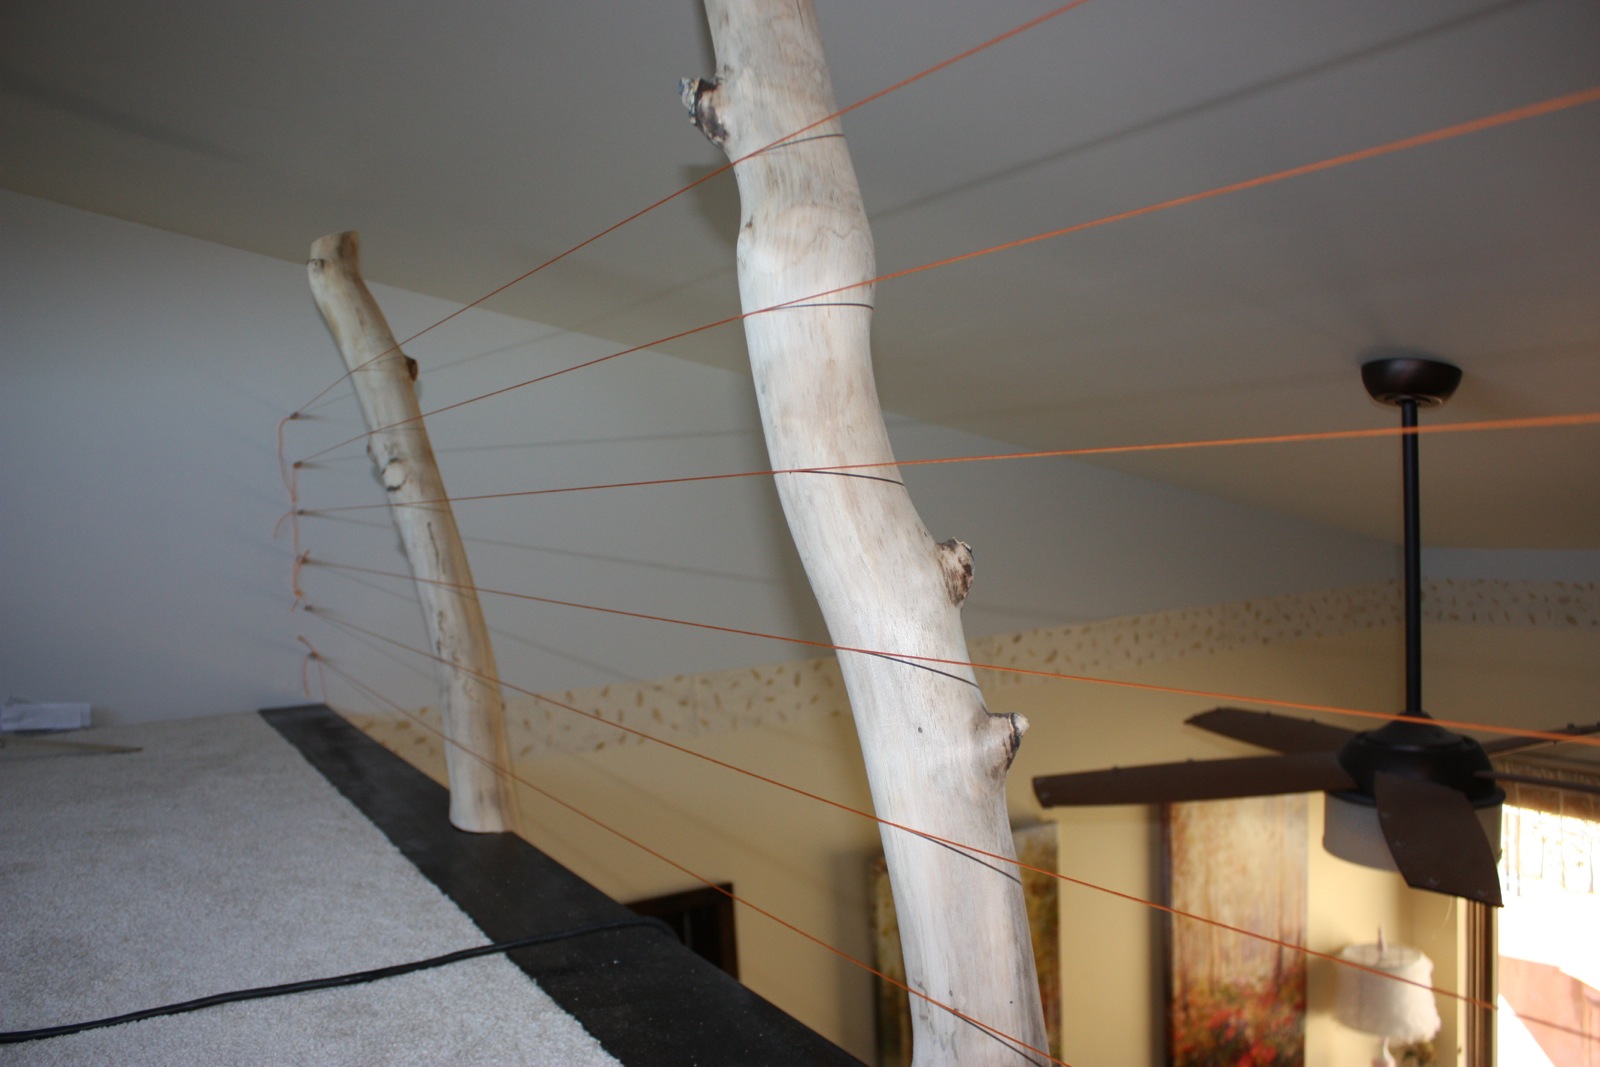
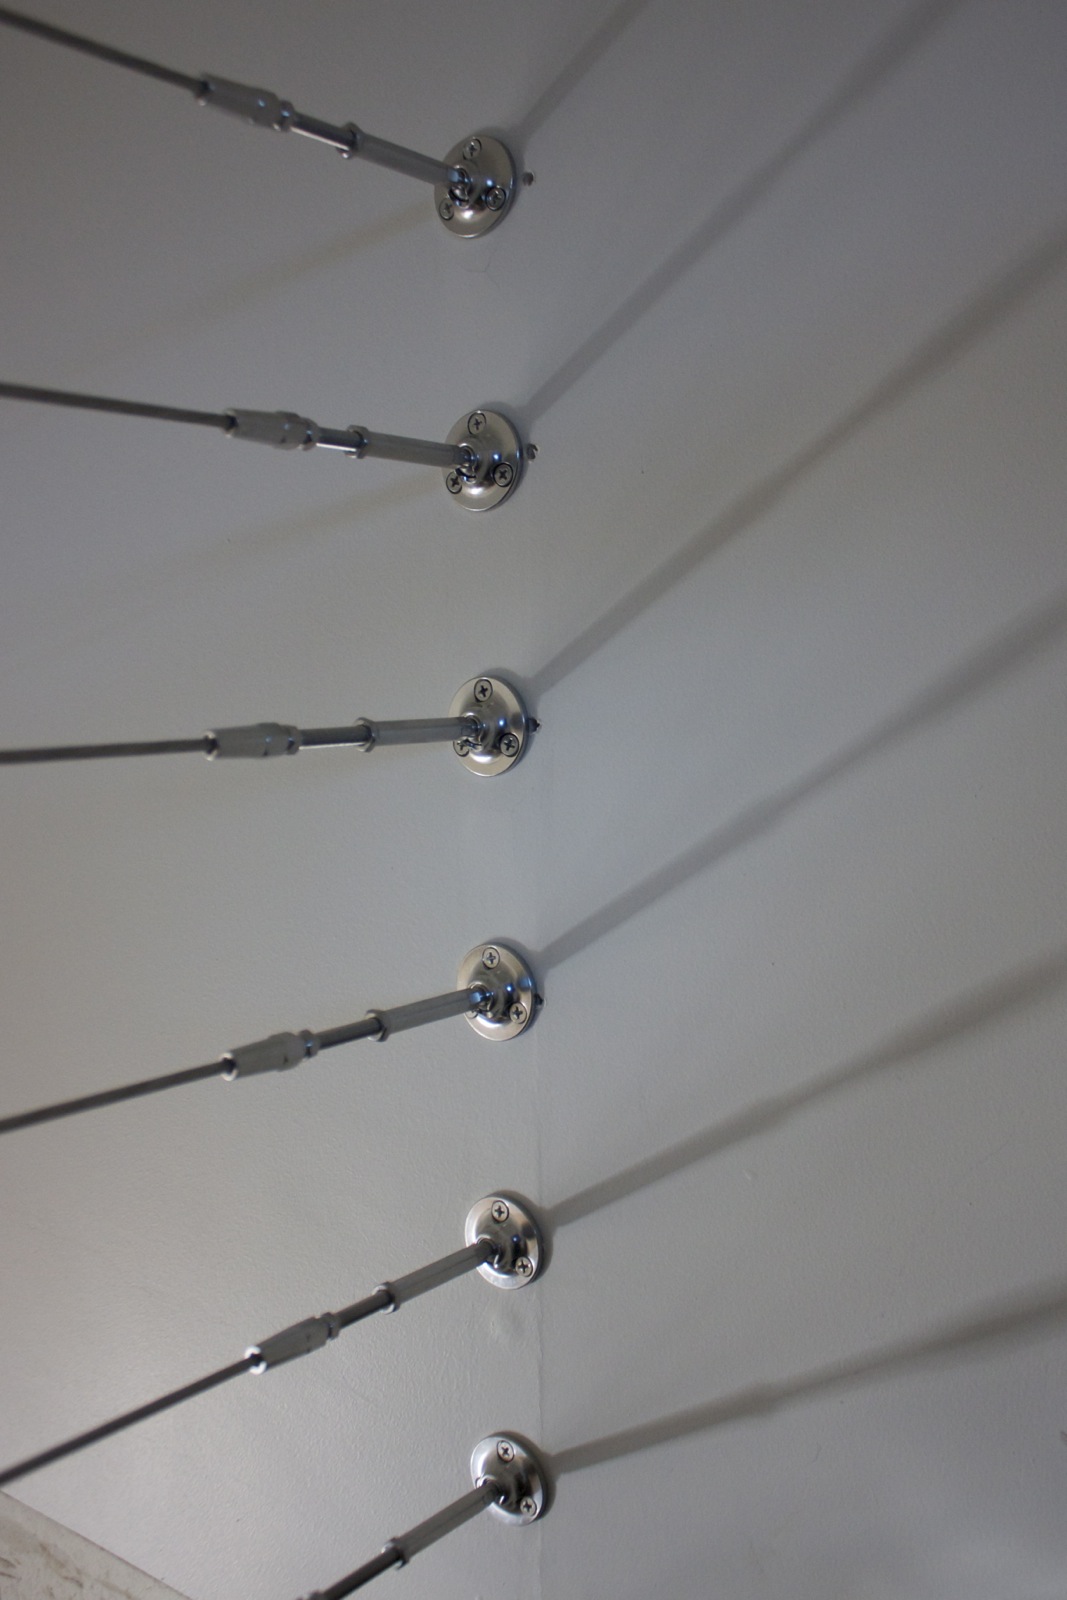
For convenience, but mostly for the look, we chose the RailEasy cable system. The lag stud on one end and tensioner on the other meant that we did not need to put posts near the wall for anchoring. Instead, I decided that we could go straight into the studs behind the drywall, minimizing the visual noise.
I used my ghetto stud finder (tapping on the wall with my finger) to find a 2x4 conveniently in the right spot behind the drywall, measured carefully where the center was between my guesses as to the edges and drilled holes exactly in the center of the stud. Or so I thought. I somehow ended up in empty space after three holes. Confused, I went and got the real stud finder, which led me to discover that there were actually two studs side by side, with a tiny gap between them. I was so perfectly in the center with my tapping, I went right between them. :/
Lisa came up with the good suggestion of switching which hardware went on which wall, using the round ends of the tensioners to cover some of the mistakes. That helped for some of them, but I’ve still got a bit of drywall patching to do. sigh
Anyhow, attaching the hardware was not very hard other than that. The tricky part was figuring out where to drill the holes in these tilted, bent, curving logs. I came up with a bunch of ideas, and threw them out as too error-prone.
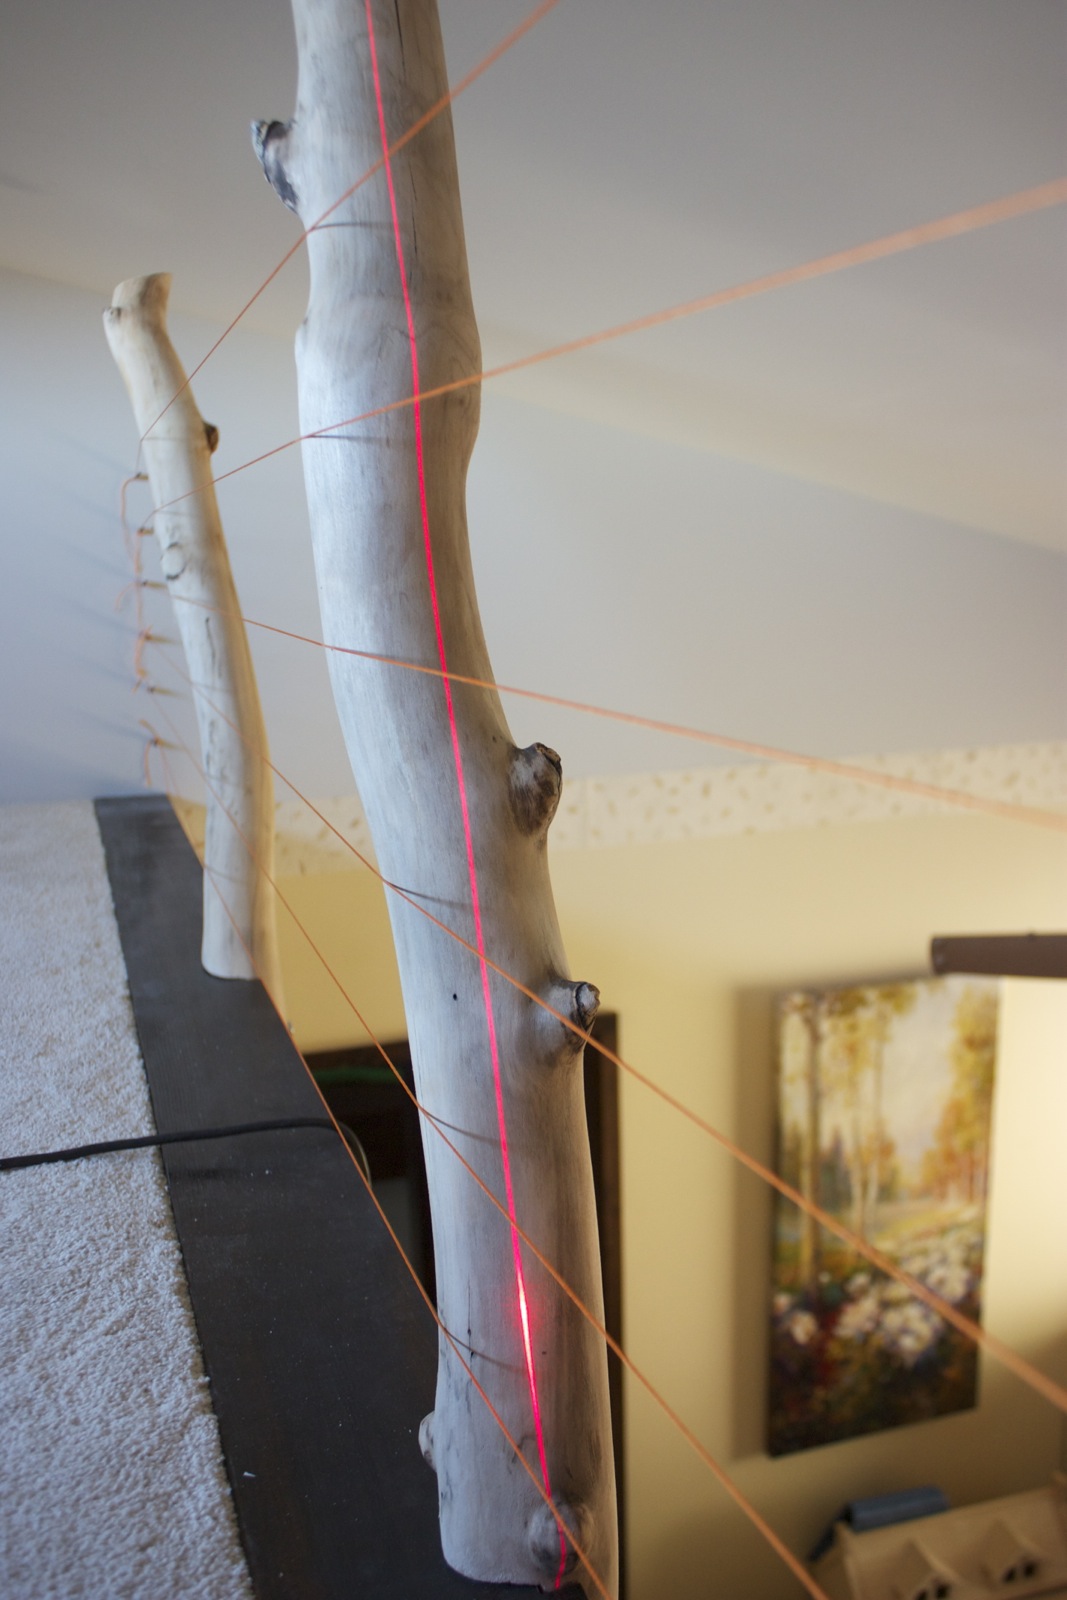 In the end, I tied nylon strings very tightly between the two ends (again, Lisa’s brilliance comes to the rescue) to get the vertical placement, snapping them a few times to try and see where the wanted to be instead of where the curved logs pushed them. Then I used a laser level tilted 90° to project a vertical line on each. Then, I used another level along with each string to find the the intersection.
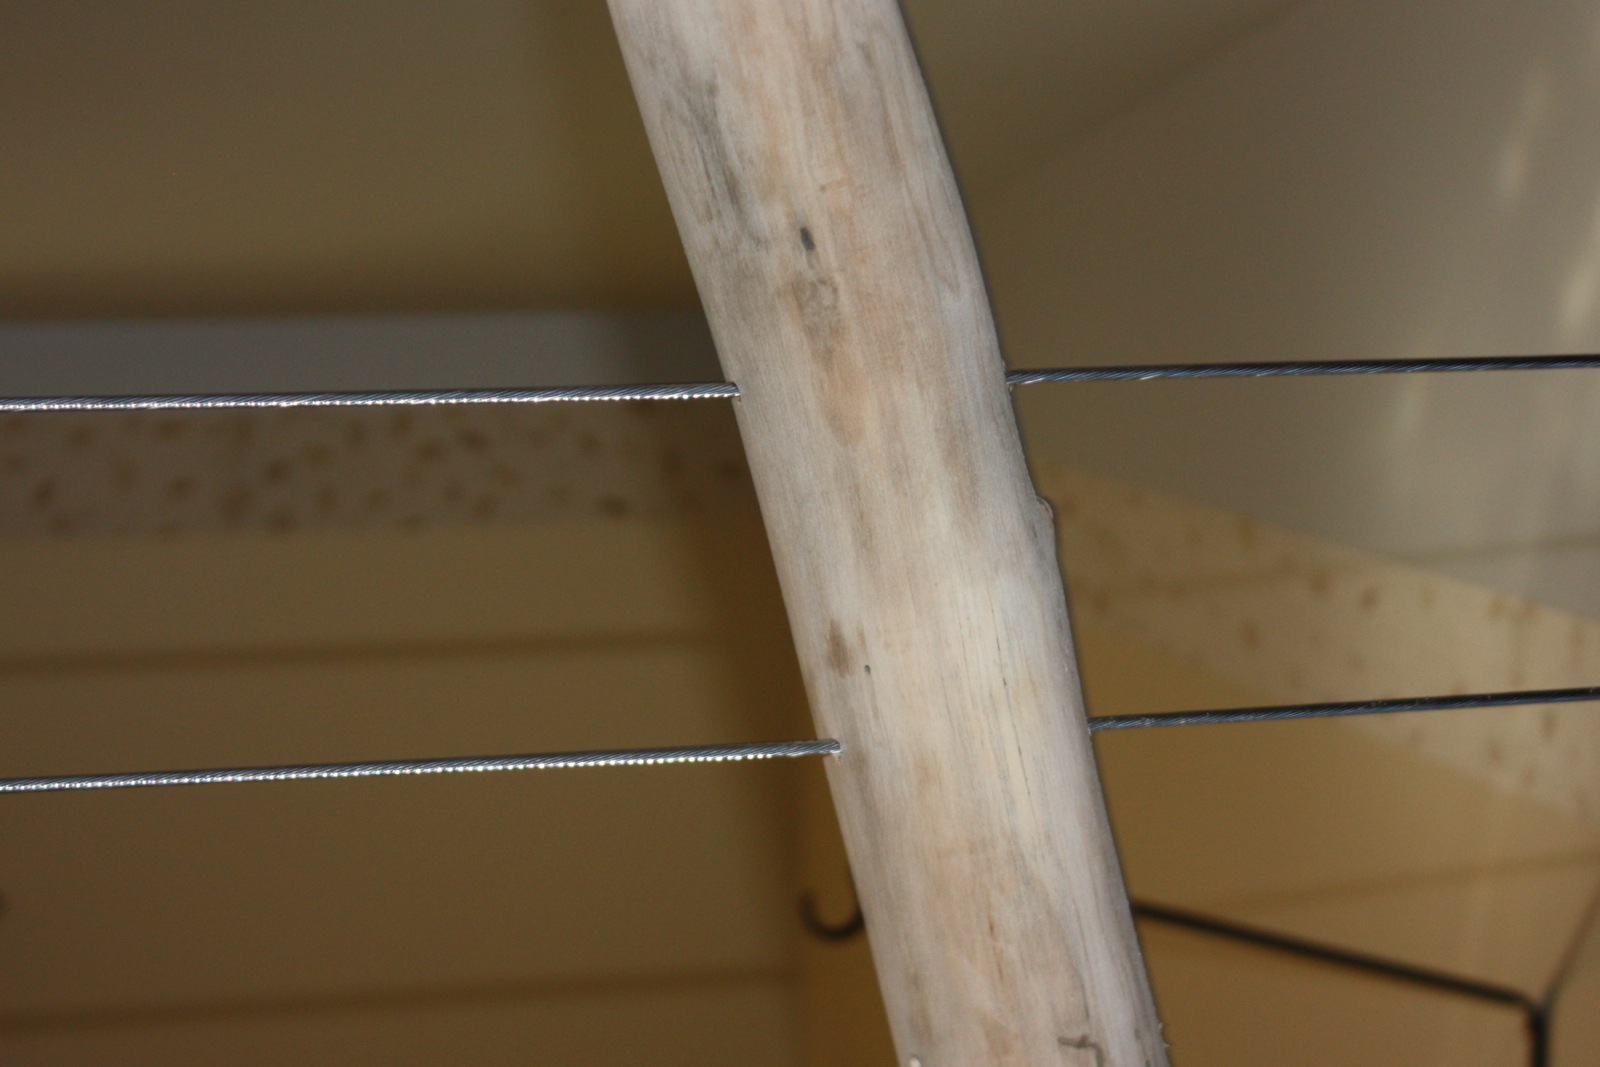
Despite getting one end of the hole spot on, I still had to drill a hole that was both level and inline with the cable direction. The holes for the first cable came out somewhat off (my drill has no built-in level and I ended up diving a little bit on both), but after pulling that cable through I was able to use it as a visual guide for drilling adjacent holes quite level.
Due to variations in the log size and tilting, the drill bit did not reach all the way through the log for some holes. For these I was too lazy to tie up the strings and laser just to find the point on the other side, so I cut the head off one nail and shoved it into the hole, and then cut the tip off another nail and used it to push the first through to the other side. This worked about as well as I expected: the nail pushing through the wood caused it to splinter on the far side. :/
Action Shots
While I worked, my children kept my company in the loft:
Me, removing the tape that held the cable ends together during hacksawing, since I was too cheap to spend $35 for the special cable cutter that lasts for “20-30 cuts”. (This picture, taken by my daughter, mostly included to show how magnificent is the beard that I can grow in only 8 days of not shaving.)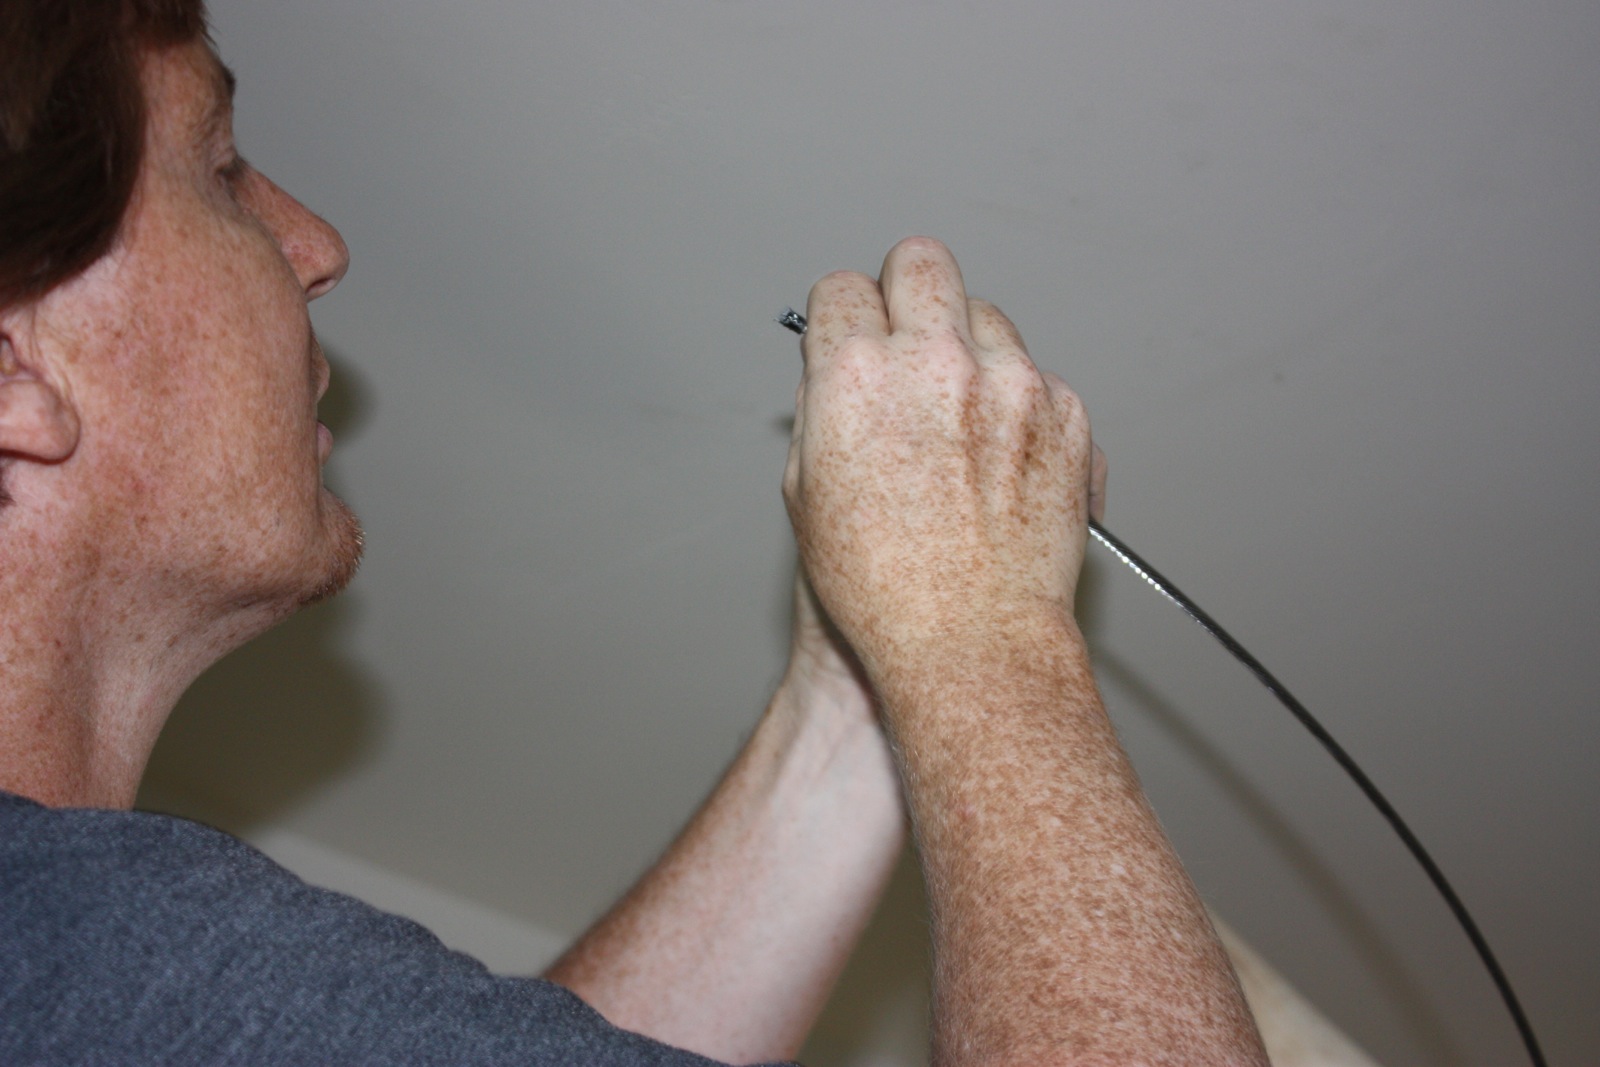
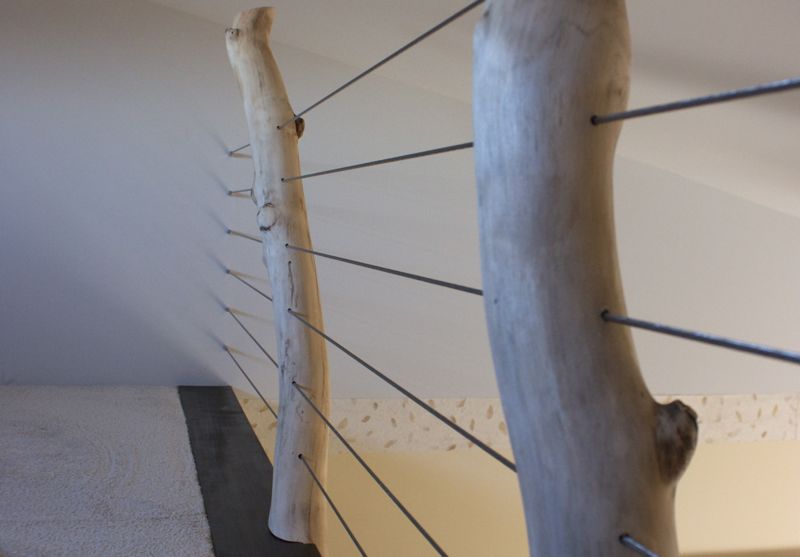
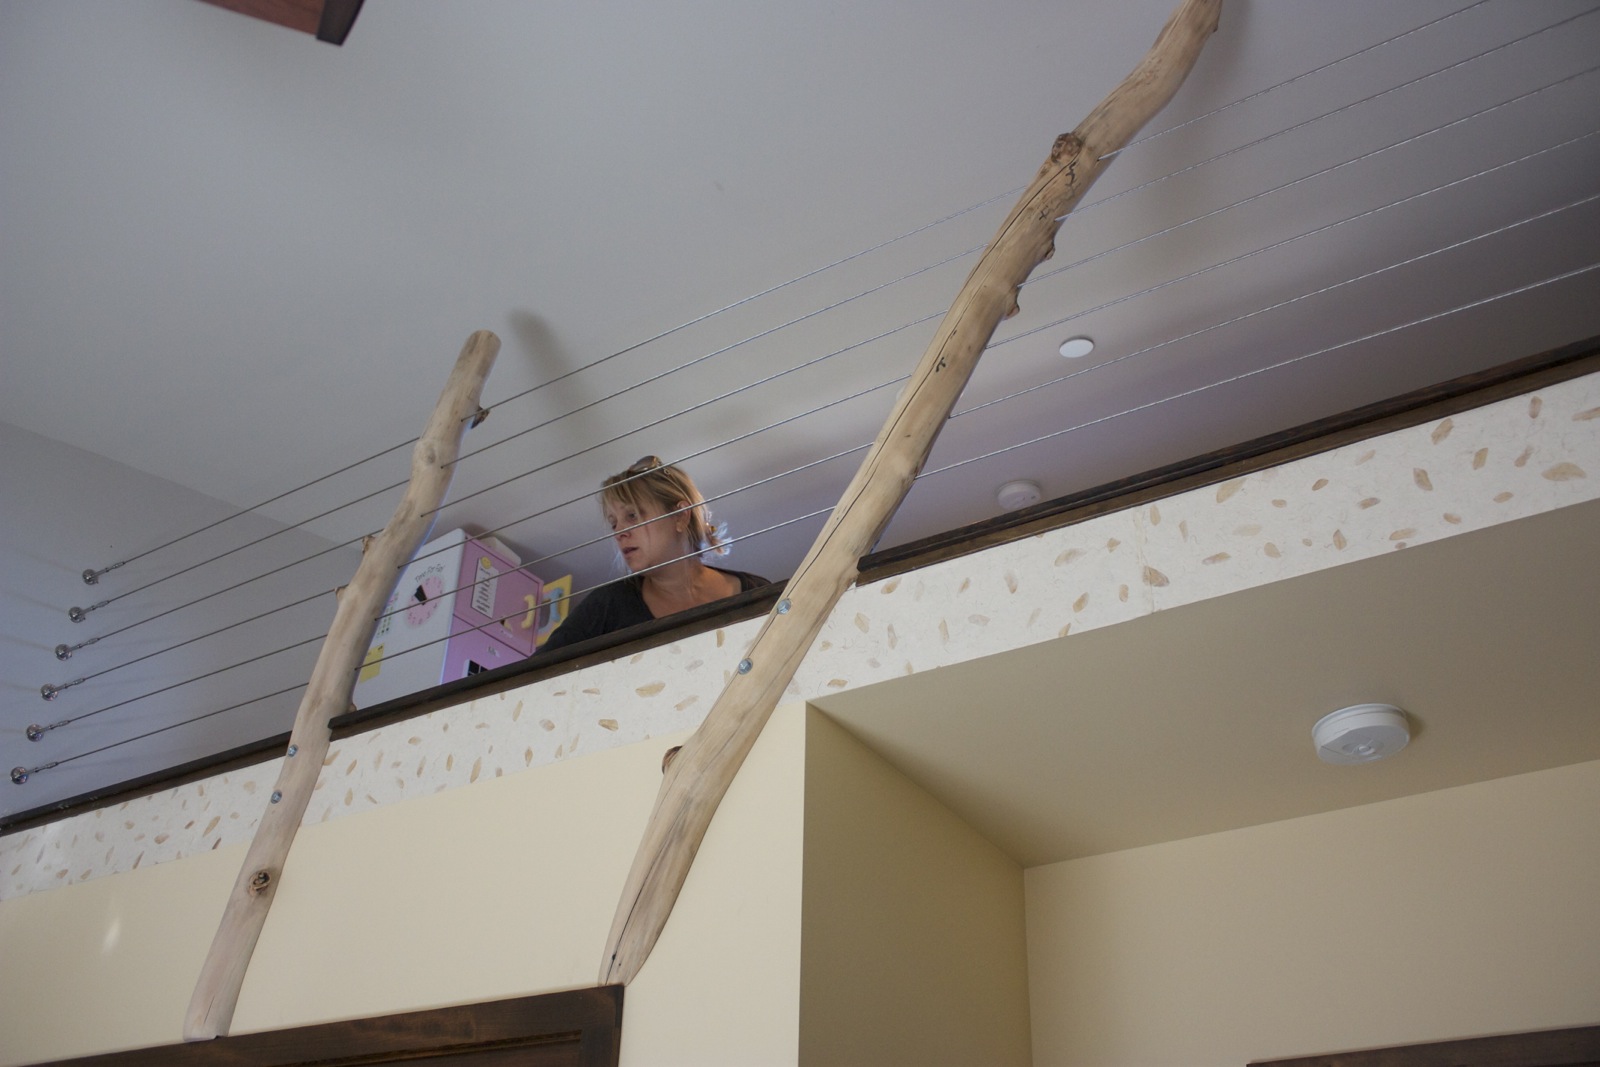
Before and after tensioning: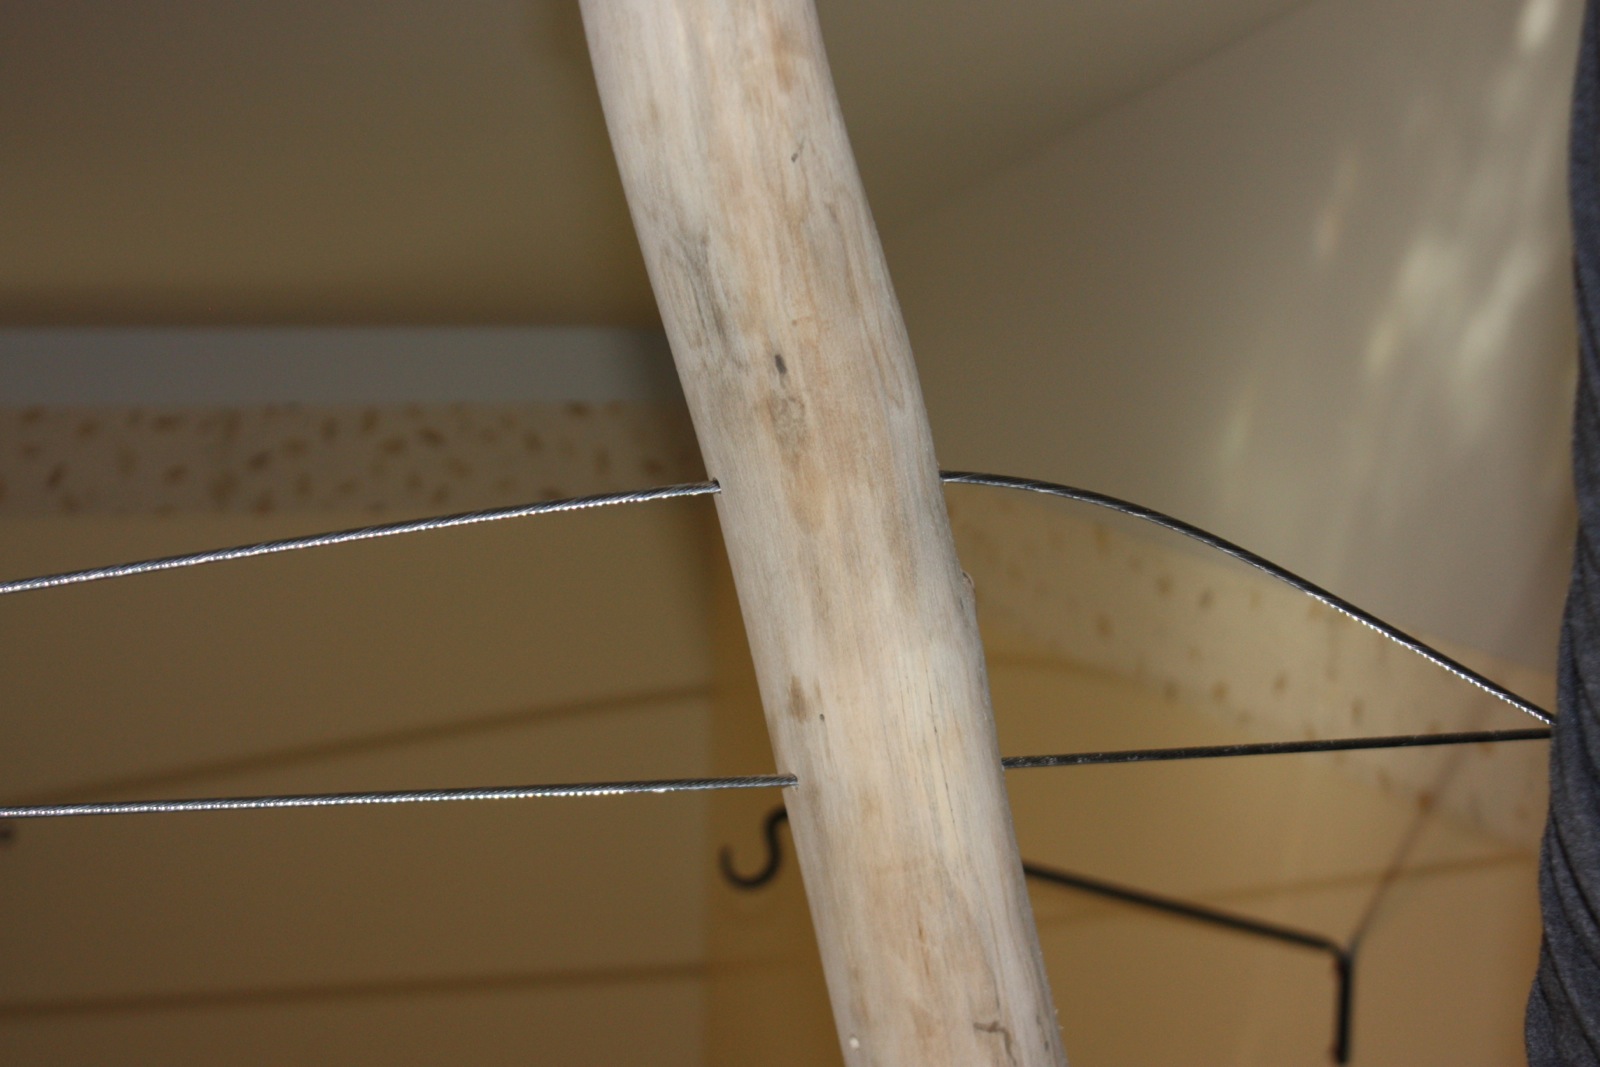
A few finished shots: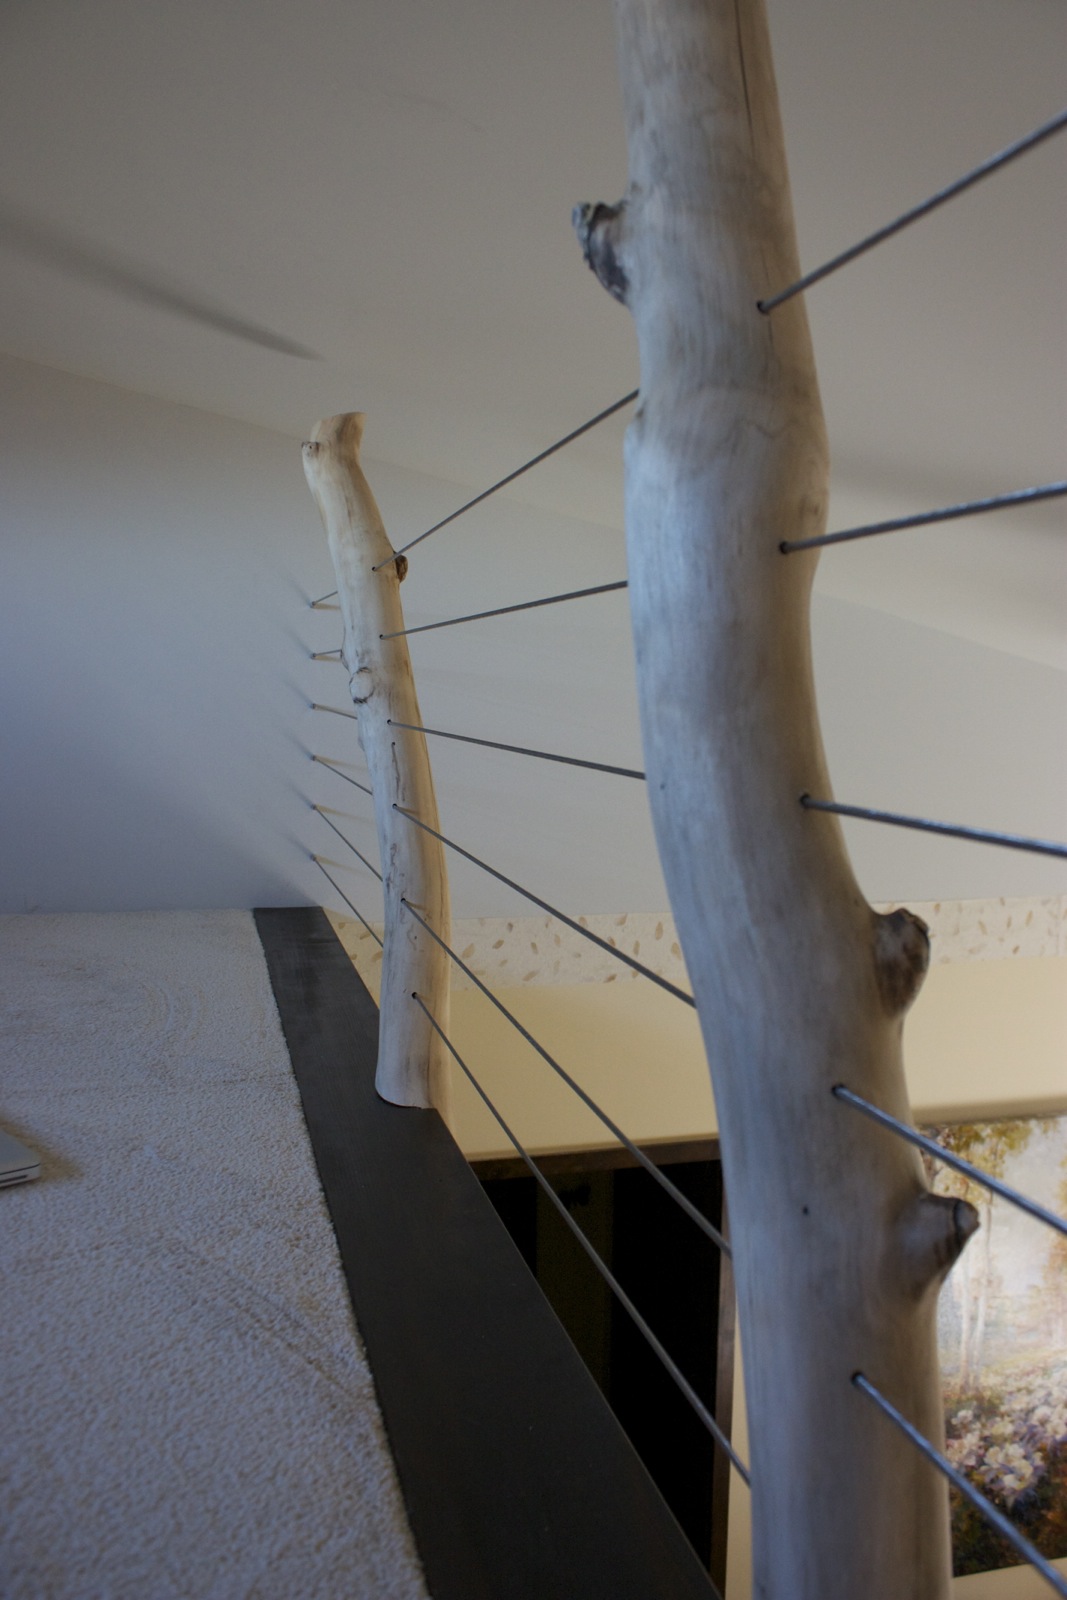
|
Javier Roman
08:30PM ET 2014-Jan-06 |
This is wonderful! I stumbled across your site for an explanation of html vs body and you had just the insight. Much thanks (you probably ought to write for O Reilly, you’ve got a good economical style!). I had to comment on the loft railing as I went through a similar experience - including a 6 year ordeal with a house addition. What’s so special about 6 years and home improvement?! Anyhow, I absolutely love you railing solution. It looks great and the use of aspen is especially cool. Thanks for sharing these. ps. For our loft we went vertical using thick galvanized plumbing pipes - heavy but a cool look too. I’ve bookmarked you. Best of luck! |